Common Image Conversion Mistakes and How to Avoid Them
2025-04-11
- → Introduction
- → Understanding Image Conversion
- → Common Image Conversion Mistakes
- → How to Avoid These Mistakes
- → FAQ
- → Conclusion
- → References
Introduction
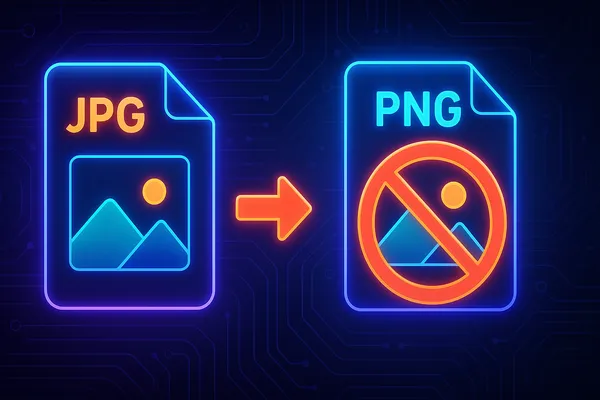
Image conversion plays a critical role in various industries, including web development, graphic design, and digital marketing. Whether it’s optimizing images for faster website loading, preparing graphics for print, or ensuring compatibility across platforms, effective image conversion is essential. However, mistakes during the process can lead to poor quality, inefficiency, or even privacy risks. This article highlights common image conversion mistakes and provides actionable tips to help you avoid them.
Understanding Image Conversion
Image conversion refers to the process of altering an image’s format, size, resolution, or other attributes to meet specific requirements. Common tasks include:
- Changing formats (e.g., JPEG to PNG)
- Resizing for specific dimensions
- Compressing to reduce file size
- Adjusting resolution for print or web use
- Color adjustments for consistency across devices
Common Image Formats and Their Use Cases:
- JPEG: Best for photographs due to its lossy compression.
- PNG: Ideal for images requiring transparency or high-quality graphics.
- GIF: Suitable for basic animations.
- TIFF: Used in professional photography and printing for lossless quality.
- WebP: Balances quality and compression but requires browser compatibility checks.
- BMP: Rarely used due to large file sizes and limited advantages. Understanding these formats helps ensure you choose the right one for your needs .
Common Image Conversion Mistakes
Mistake 1: Ignoring Image Resolution and Dimensions
Failing to use the correct resolution or dimensions can lead to pixelation when scaling images improperly. For example, enlarging a small image without considering its resolution results in a blurry output.
Mistake 2: Using the Wrong File Format
Choosing an inappropriate format can compromise quality or functionality. For instance, using JPEG for a logo requiring transparency instead of PNG leads to unsatisfactory results.
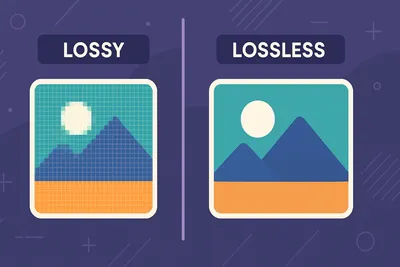
Mistake 3: Excessive Compression
Over-compressing an image reduces file size but can introduce artifacts and degrade quality. For example, overly compressed JPEGs often appear “blocky.”
Mistake 4: Not Considering Browser Support
Using modern formats like WebP without fallback options can cause issues on older browsers like Internet Explorer.
Mistake 5: Neglecting Color Profiles
Failing to manage color profiles can result in inconsistent colors across devices. For example, using non-sRGB profiles might make an image appear different on various screens.
Mistake 6: Ignoring Metadata
Leaving metadata like EXIF data intact can expose sensitive information such as GPS coordinates embedded in photos.
Mistake 7: Failure to Preserve Transparency
Converting images with transparency (e.g., PNG) into formats that don’t support it (e.g., JPEG) eliminates necessary transparent areas.
How to Avoid These Mistakes
Tip 1: Always Start with the Highest Quality Source
Working with high-resolution originals ensures better results after conversions. Keep backups of original files and work on copies .
Tip 2: Understand the Use Case and Choose the Right Format
Match the format to the purpose:
- JPEG: Photographs
- PNG: Transparent graphics or high-quality visuals
- GIF: Animations
- WebP: Optimized web images with smaller file sizes .
Tip 3: Balance Compression and Quality
Use tools like Photoshop or online compressors that allow previewing the output before finalizing compression levels .
Tip 4: Ensure Browser Compatibility
Test images across browsers and provide fallback options using HTML elements for multiple formats .
Tip 5: Manage Color Profiles Carefully
Convert images to sRGB profiles for consistent display on web browsers and devices. Tools like Adobe Photoshop simplify this process .
Tip 6: Clean Up Metadata
Remove unnecessary metadata using tools like ExifTool or online metadata strippers to protect privacy and reduce file size .
Tip 7: Preserve Transparency Where Necessary
When transparency is essential, use formats like PNG or WebP and verify that transparency is maintained after conversion .
FAQ
-
What is image conversion and why is it important? Image conversion is the process of altering an image’s format, size, resolution, or other attributes to meet specific requirements. It is essential for optimizing images for web, print, or digital marketing purposes.
-
What are the most common image conversion mistakes? Common mistakes include ignoring resolution and dimensions, using the wrong file format, excessive compression, neglecting browser support, mismanaging color profiles, ignoring metadata, and failing to preserve transparency.
-
How can I choose the right image format for my needs? Match the format to the use case: JPEG for photographs, PNG for transparency or high-quality graphics, GIF for animations, and WebP for optimized web images.
-
How can I avoid over-compressing images? Use tools that allow previewing the output before finalizing compression levels, such as Photoshop or online compressors, to balance quality and file size.
-
Why is browser compatibility important in image conversion? Using modern formats like WebP without fallback options can cause issues on older browsers. Test images across browsers and provide fallback formats to ensure compatibility.
-
How can I ensure consistent colors across devices? Manage color profiles carefully by converting images to sRGB profiles, which ensure consistent display on web browsers and devices.
-
Why should I clean up metadata before sharing images? Removing metadata protects privacy by eliminating sensitive information like GPS coordinates and reduces file size.
-
What tools can help with efficient image conversion? Tools like Adobe Photoshop, GIMP, Tinify, and online metadata strippers can streamline the conversion process and help avoid common pitfalls.
Conclusion
Image conversion is a vital process that requires careful attention to detail. By avoiding common mistakes such as ignoring resolution, choosing the wrong format, or neglecting metadata, you can ensure high-quality outcomes. Following these tips will not only improve your workflow but also enhance the visual appeal and functionality of your images. Explore tools like Adobe Photoshop, GIMP, or Tinify for efficient conversions tailored to your needs.